
Deciding to upgrade your insulation with spray foam is a smart investment — but if you've never been through the process, you might be wondering what to expect. At DTF Spray Foam, we believe informed customers are happy customers. Here's a complete walkthrough of what happens before, during, and after a spray foam insulation installation.
Step 1: The Free Estimate and Assessment
Every project begins with a thorough assessment of your property. One of our experienced technicians will visit your home or building to evaluate the current insulation, identify problem areas, and take measurements. We'll discuss your goals — whether that's lowering energy bills, improving comfort, addressing moisture issues, or all of the above.
Based on this assessment, we'll provide a detailed, written estimate that includes the scope of work, the type of spray foam recommended (open cell, closed cell, or a combination), and the total cost. There are no hidden fees and no pressure — just honest recommendations based on what we see.
Step 2: Scheduling and Preparation
Once you've approved the estimate, we'll schedule your installation at a time that works for you. Before we arrive, there are a few simple things you can do to prepare. Clear the work area of personal belongings, especially in attics, crawl spaces, or garages. If we're spraying in living areas, you may want to cover furniture and belongings near the work zone with plastic sheeting.
We'll let you know in advance if any specific preparation is needed for your particular project. For most residential jobs, preparation is minimal and straightforward.
Step 3: Area Protection and Setup
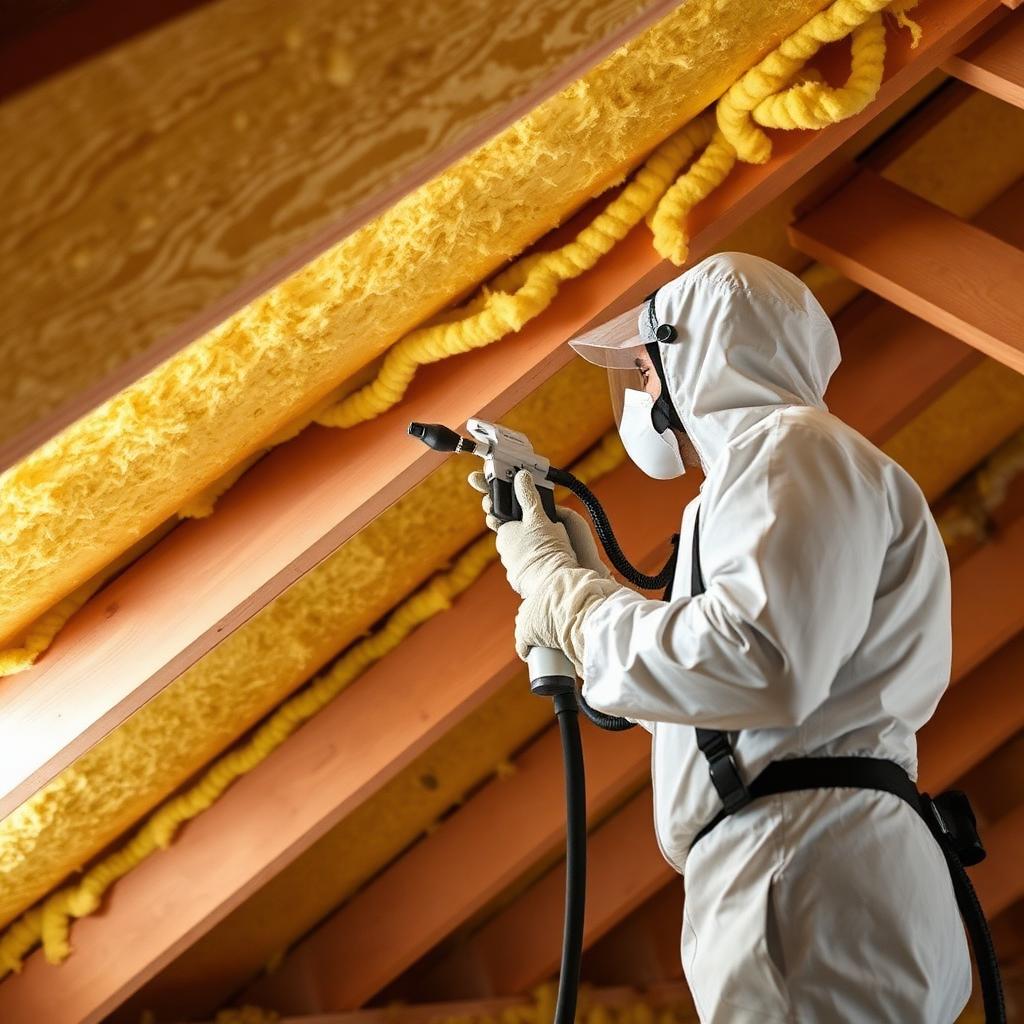
On installation day, our crew arrives with all the necessary equipment — including our spray foam rig, hoses, and safety gear. The first thing we do is protect your property. We lay down drop cloths, hang plastic sheeting to contain overspray, and mask off any surfaces that shouldn't receive foam, such as windows, electrical boxes, and HVAC components.
Our team follows strict safety protocols. Spray foam application involves chemicals that require proper ventilation and personal protective equipment. We ensure that the work area is properly ventilated and that all safety measures are in place before we begin spraying.
Step 4: Spray Foam Application
This is where the magic happens. Our trained technicians apply the spray foam using specialized equipment that heats and mixes the two chemical components — isocyanate and polyol resin — at the spray gun. When these components combine, they react and expand rapidly, filling cavities, sealing gaps, and creating a continuous insulation layer.
The application process is methodical. We work in passes, building up the foam to the specified thickness. For closed cell foam, this typically means multiple thin passes to ensure proper curing and adhesion. For open cell foam, larger single passes can be applied since the foam expands more dramatically.
Depending on the size of your project, the spraying portion typically takes anywhere from a few hours to a full day. A standard residential attic, for example, usually takes 3-5 hours to complete.
Step 5: Curing and Trimming
After application, the foam needs time to cure — typically 24 hours for a full cure, though it becomes tack-free within minutes. During the curing process, any residual odor dissipates. We recommend keeping the area well-ventilated during this period.
Once cured, we return to trim any excess foam if necessary. In most applications, the foam is applied to the correct thickness and doesn't require trimming. However, in exposed areas where a clean finish is desired, we'll shave the foam flush with the studs or joists.
Step 6: Cleanup and Final Walkthrough
After the foam has cured and any trimming is complete, our crew removes all protective sheeting, cleans up the work area, and removes all equipment and waste materials. We leave your property clean and tidy.
Before we leave, we do a final walkthrough with you to review the completed work. We'll show you exactly what was done, answer any questions, and make sure you're completely satisfied with the results.
How Long Does the Whole Process Take?
For a typical residential project — such as an attic or crawl space — plan for one full day from setup to cleanup. Larger projects, such as whole-house insulation or commercial buildings, may take 2-3 days. We'll provide a timeline during the estimate process so you can plan accordingly.
Ready to Get Started?
Now that you know what to expect, there's no reason to put it off. A spray foam insulation upgrade is one of the best investments you can make in your South Texas home. Contact DTF Spray Foam today to schedule your free estimate and take the first step toward a more comfortable, energy-efficient home.
Ready for a Free Estimate?
Contact DTF Spray Foam today — South Texas' most trusted insulation experts.